First a legal DISCLAIMER: Instructions and pictures are provided "AS IS"; this procedure works for me and my particular n10, your model may vary. If you follow this you do so at your own risk; under no circumstances will I accept responsibility for any damage you do to your (or others') property, or any loss of warranty.
So why would you want to open your PDA ?
• some driver doesn't work, and you want
to check the chip part numbers.
• you want to access the serial port.
• you messed up your flash and need
to find the JTAG interface :(not known yet).
• you're just curious :-).
But now to the fun stuff. Disassembling the n10 is easiestly viewed as
a two-step procedure. First, get rid of the silvery outer cover (that
gives it the unnecessary cheap touch) and second take off the display
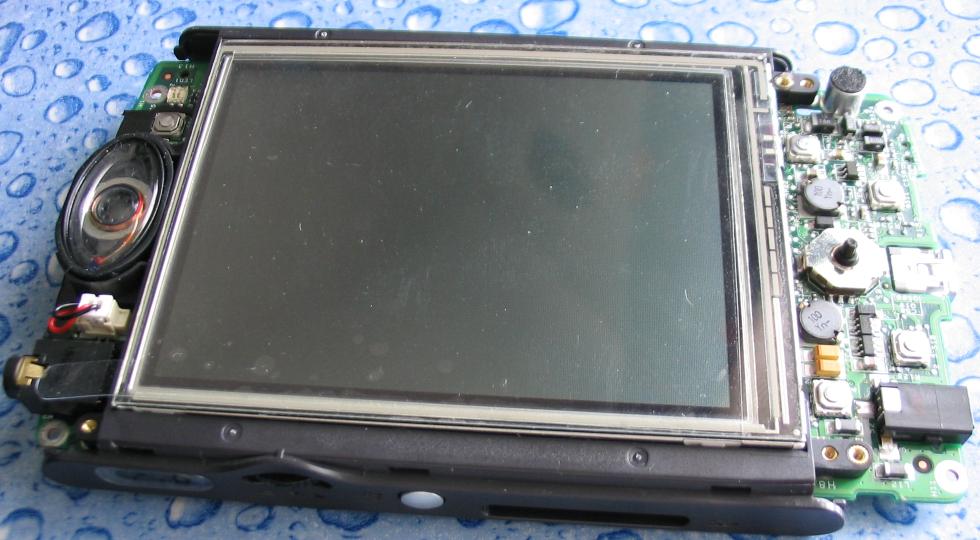
frame that's attached to the PCB. See from the front side
what it looks like when you're about half way there. Note that the sides are still fully intact.
Overall, it's quite simple, if you know where to push and what to loosen next. All the tools you need are a small Phillips head screwdriver (a.k.a x-shaped or cross screwdriver) and a small, simple flat screwdriver. If you have a millimeter of fingernails left and are a little skilled in fine mechanics then you're perfect.
Before you start I suggest you lock the buttons with the "hold" switch and switch off the main power (bottom right).
Hidden behind 4 round black rubber pads you find the main case screws.
You can remove the pads with a bent paper clip; clean everything from
the glue if you like.

Now check your Phillips screwdriver, preferably a watch maker's one. If it fits these screws, it will fit all of them. The screw's fine thread seems to be metric and rests in a metal hold; not like the self tapping plastic crap. I really liked it when I first noticed.
Now the case is still clamped shut. The biggest, strongest clamps are
at the bottom, next to the mini USB connector, and none are at the top
(CF / earphones).
So start at the top to bend the case open, twisting
and pushing the case carefully. You may use the flat screw driver to
release the side clamps, if you can find them, but be careful not to
damage the case.
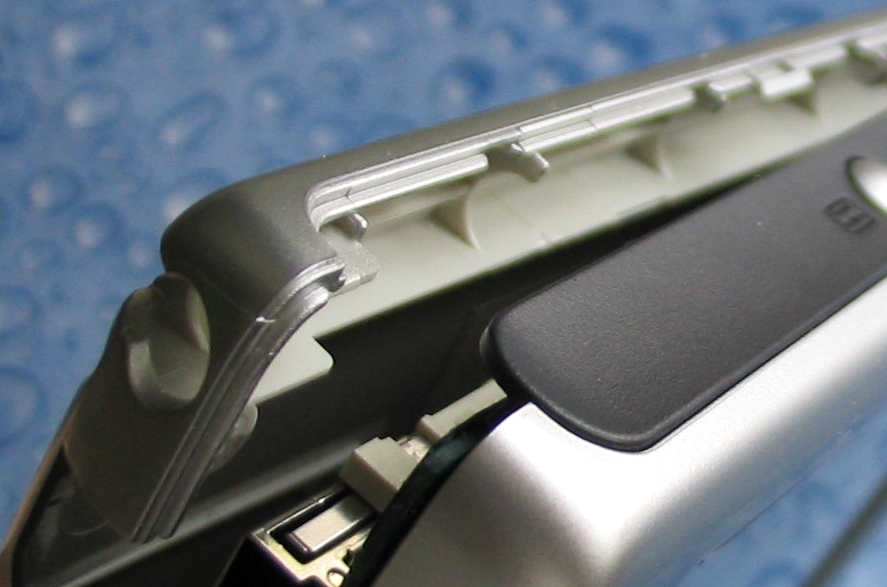


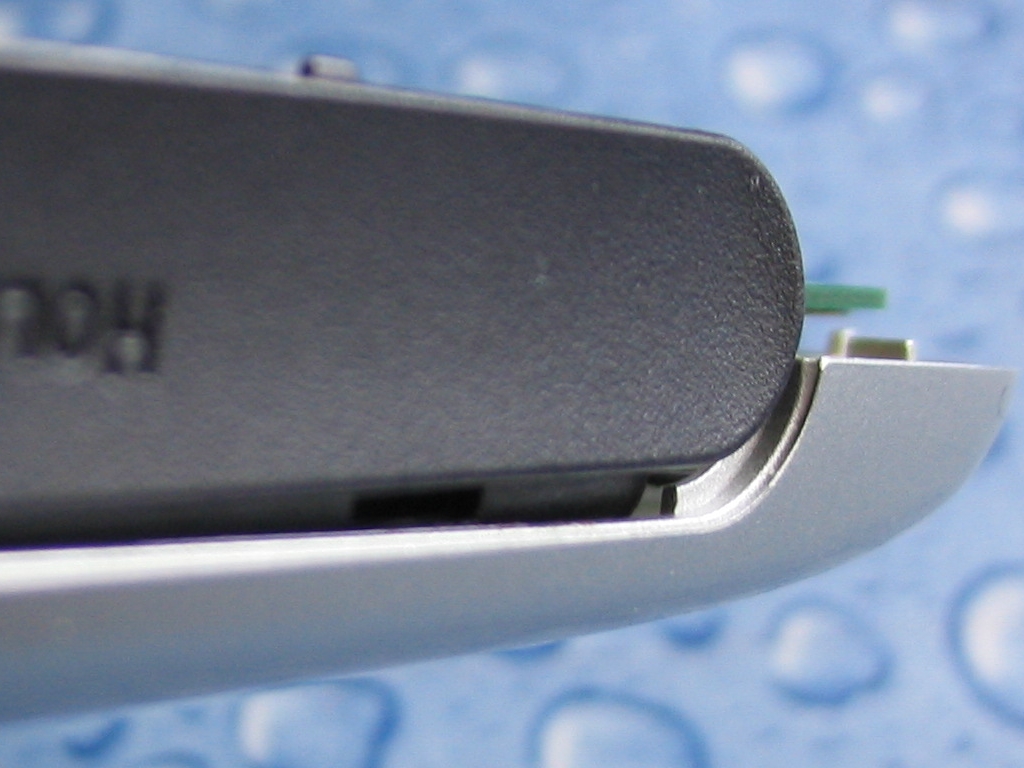
What comes off from everything else is the rear cover. The side clamps don't seem to mind being forced open. For the bottom clamps I wouldn't try !
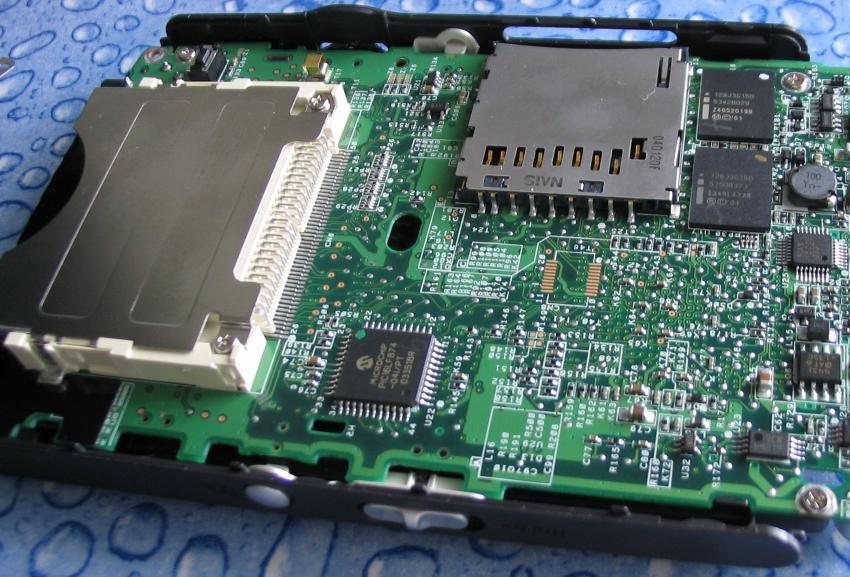
Looks like you haven't gained much. 2 visible screws, everything still fixed in there. Don't loosen those screws yet, it's useless and confusing.
Instead unplug the battery, using finger nails or a screwdriver. You can then lever the battery with the screwdriver carefully; it's only glued to its frame with double faced adhesive tape. Be easy with your force and the screwdriver and loosen it.
The battery frame is simply clamped to the PCB, and fortunately not very hard. You can easily bend these clamps with the screwdriver and take off the frame.
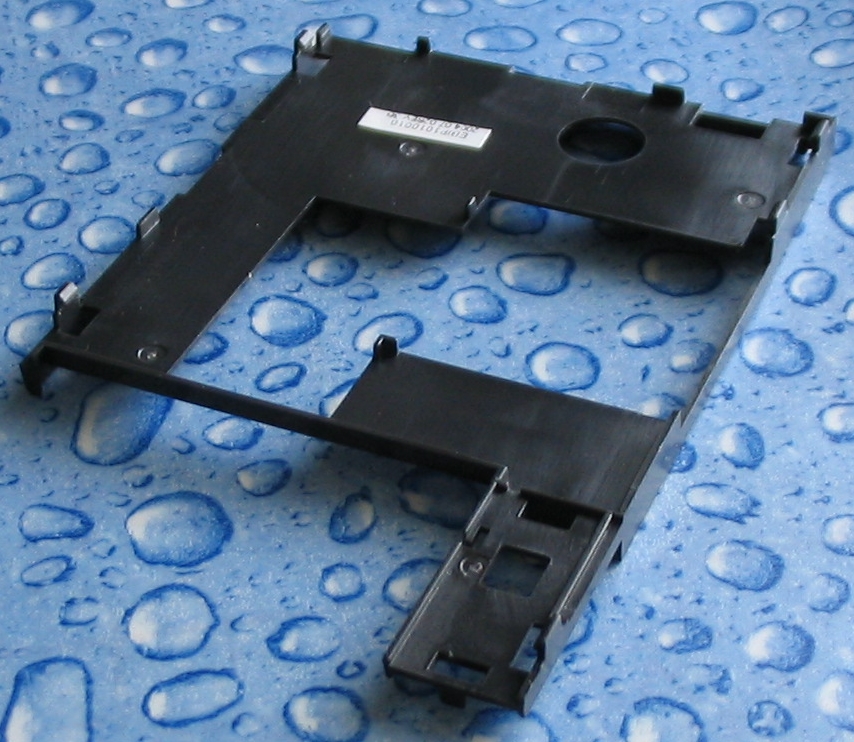
Here you see the battery frame alone, from the PCB side
(flipped 180 degrees) so you can locate the clamps: 3 on the long side,
and 2 along the short side.
Now you can see a third screw, but must still leave them alone.
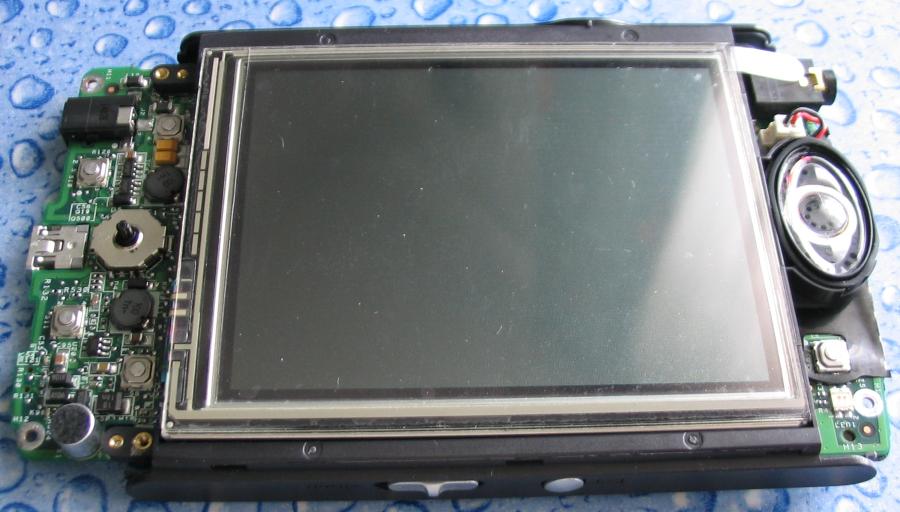
If you still have the protecting foil on your display, now is the time to at least loosen it from the front cover, which is now to be separated from the display in a similar fashion as the back cover.
Like with the back cover, push or carefully force the clamps that hold the front cover.
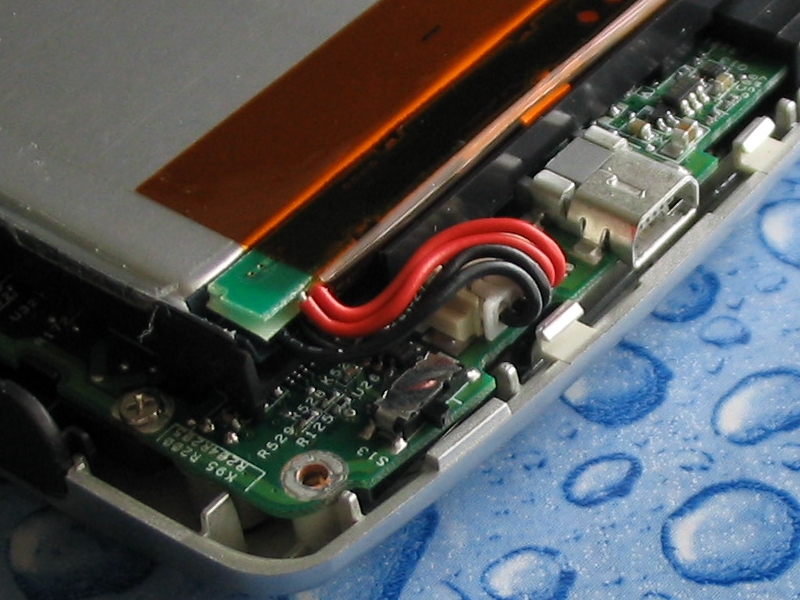
The speaker sits on the display frame. Because on my first try I had the front cover still on, it took me a while to realise it was the speaker connector preventing further disassembly -- sheesh ! Unplug it with finger nails or screwdriver.
Now release the thin metal sheet around the "joystick" and the other 4 main buttons. 2 simple screws.
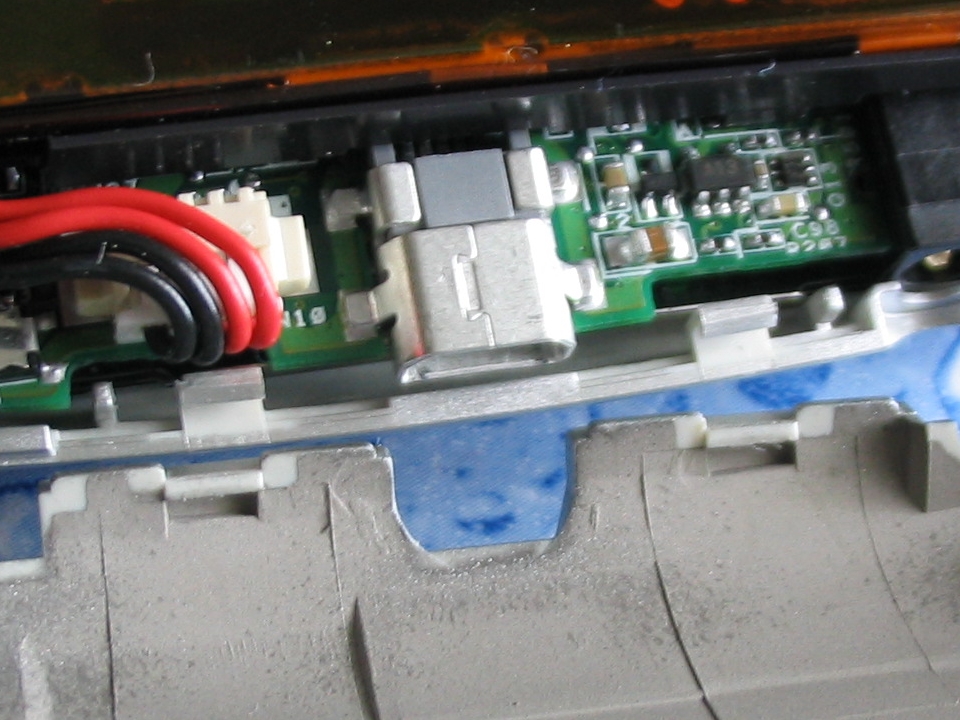
Finally. Time to undo the three screws from the back side. The display, loosely sitting in its frame, will come off. But watch out for those filigrane...
they are thick film connectors, locked into place by sort of plugs.

First pull the plug out of the socket, then the film connector.
Reassemble in reverse order. If you still have the display foil, watch it when putting on the front cover.
Lock in the rear cover at the bottom an pivot it shut.
Make sure the bottom clamps snap in first, so you can easily correct misfit.
Good Luck !